 NextFrame
Color
Check the analysis range first, then white balance and color cast. If the automatic result looks right, do not rebalance it.
Analysis range
Press V to show the marks. Check whether the exposure range includes sprocket holes, the holder, a neighboring frame, or a large area of interfering color. Shrink the range or draw it again if it does. For sky, cloud, or snow with no black point, try including a little film base.
White balance and cast strength
Press T to apply automatic temperature and tint. If those settings already have adjustments, this key resets them. On a photo you have edited by hand, make a virtual copy first, then compare automatic, reset, and manual results. Press W for the white-balance eyedropper, or adjust global, shadows, midtones, and highlights separately in the white-balance panel.
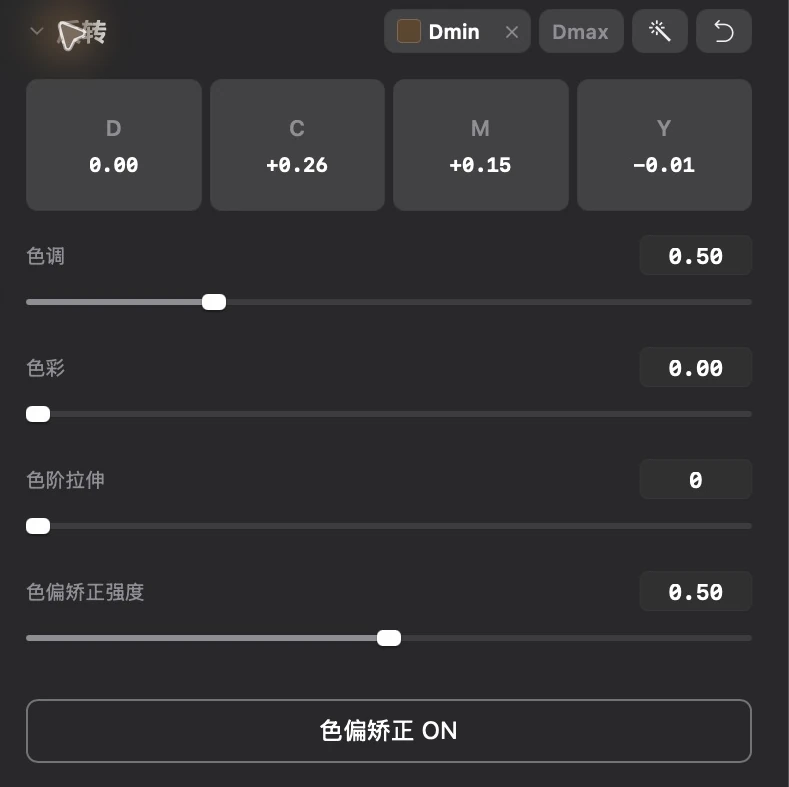
In the inversion panel, lower Color Cast Strength and compare the current value, a lower value, and 0. A lower strength suits a photo where automatic correction went too far. Press P to toggle cast correction. Calling cloud correction again needs a network connection.
Sunset, stage light, and warm indoor light should keep an appropriate amount of the light that was there. The goal is not a completely neutral picture.
Dmin and Dmax
If fog or a cast remains, check that Dmin landed on the film base. Clear it and sample again if needed. When the steps above do nothing, hold Q, choose Dmax, and sample the brightest neutral area that has not clipped. The steps are in Inversion and sampling.
Drag the DCMY waveforms
In the inversion panel, drag either end of a waveform. The left end mainly controls the shadow baseline. The right end mainly controls gain. Move a little at a time, then look at shadows, midtones, and highlights.
| Waveform | Left end | Right end |
|---|---|---|
| D | Overall baseline shift | Overall gain |
| C | Red-channel shadow end | Red-channel gain |
| M | Green-channel shadow end | Green-channel gain |
| Y | Blue-channel shadow end | Blue-channel gain |
If the shadows are green, try lowering the left end of M a little. If the highlights are yellow and short on blue, try raising the right end of Y. After the change, check skin and midtones as well, so fixing one end does not push the other end off. The channel waveforms do not need to overlap.
Other color tools
| Tool | Use |
|---|---|
| Tone | Exposure, highlights, shadows, whites, and blacks, for the overall light-to-dark shape |
| Curves | Add and drag control points. The master curve sets contrast. RGB channel curves set color |
| Color mixer | Choose red, orange, yellow, green, aqua, blue, purple, or magenta, then adjust hue, saturation, and luminance |
| Color grading | Set a color for shadows, midtones, highlights, or the whole picture, and use blend and balance for the transition |
| LUT | Pick a preset or import a file in the LUT panel, turn it on, and set the strength. Hold Z for a quick control |
| Local mask | Add and select a mask, then adjust exposure or color inside it. Use feather for the edge |
Press N to compare before and after. Press ⌘ Z to undo the latest change.