 NextFrame
Automatic RAW mode
With automatic processing on, importing a single copied RAW runs detection, crop, and inversion from your preset. You can also run it again on a photo you already have.
Set the default
- Open Settings → Processing Preferences, or press
⌘ Shift ,. - Turn on Auto Process. Under Auto Crop, choose Keep Base or Remove Base. Choose Straighten if you only need the angle corrected.
- Set automatic Dmin, automatic straightening, sprocket fill, automatic tone, and temperature and tint as needed.
- Choose the default color mode. Turn on cloud color-cast correction if you want it, and keep a network connection available.
- Import the RAW files and wait until processing finishes.
Processing preferences apply to newly imported photos and to photos after a reset. They do not rewrite an edit that is already open. Strip scans do not use the single-RAW automatic path.
Run it again
In Develop, select the photo, hold A to open the dial, and choose Auto. This recalculates inversion and related settings. To keep the hand adjustments you already made, press ⌘ D first and work on a virtual copy.
Hold D to choose the automatic crop: keep the base, remove the base, or straighten. A short press of D toggles between the automatic crop and no crop. Hold S to choose Vivid, Natural, or Original tone.
Check the crop and the range
Press F to crop. Check that the light panel, film holder, or a neighboring frame is not left in the edges. Drag an edge to change it, press Enter to confirm, or Esc to discard this change.
Press V to show the marks. The exposure range should cover the picture that inversion analyzes. It usually excludes sprocket holes and the holder. Press A to draw the range again. Hold A to pick a range preset.
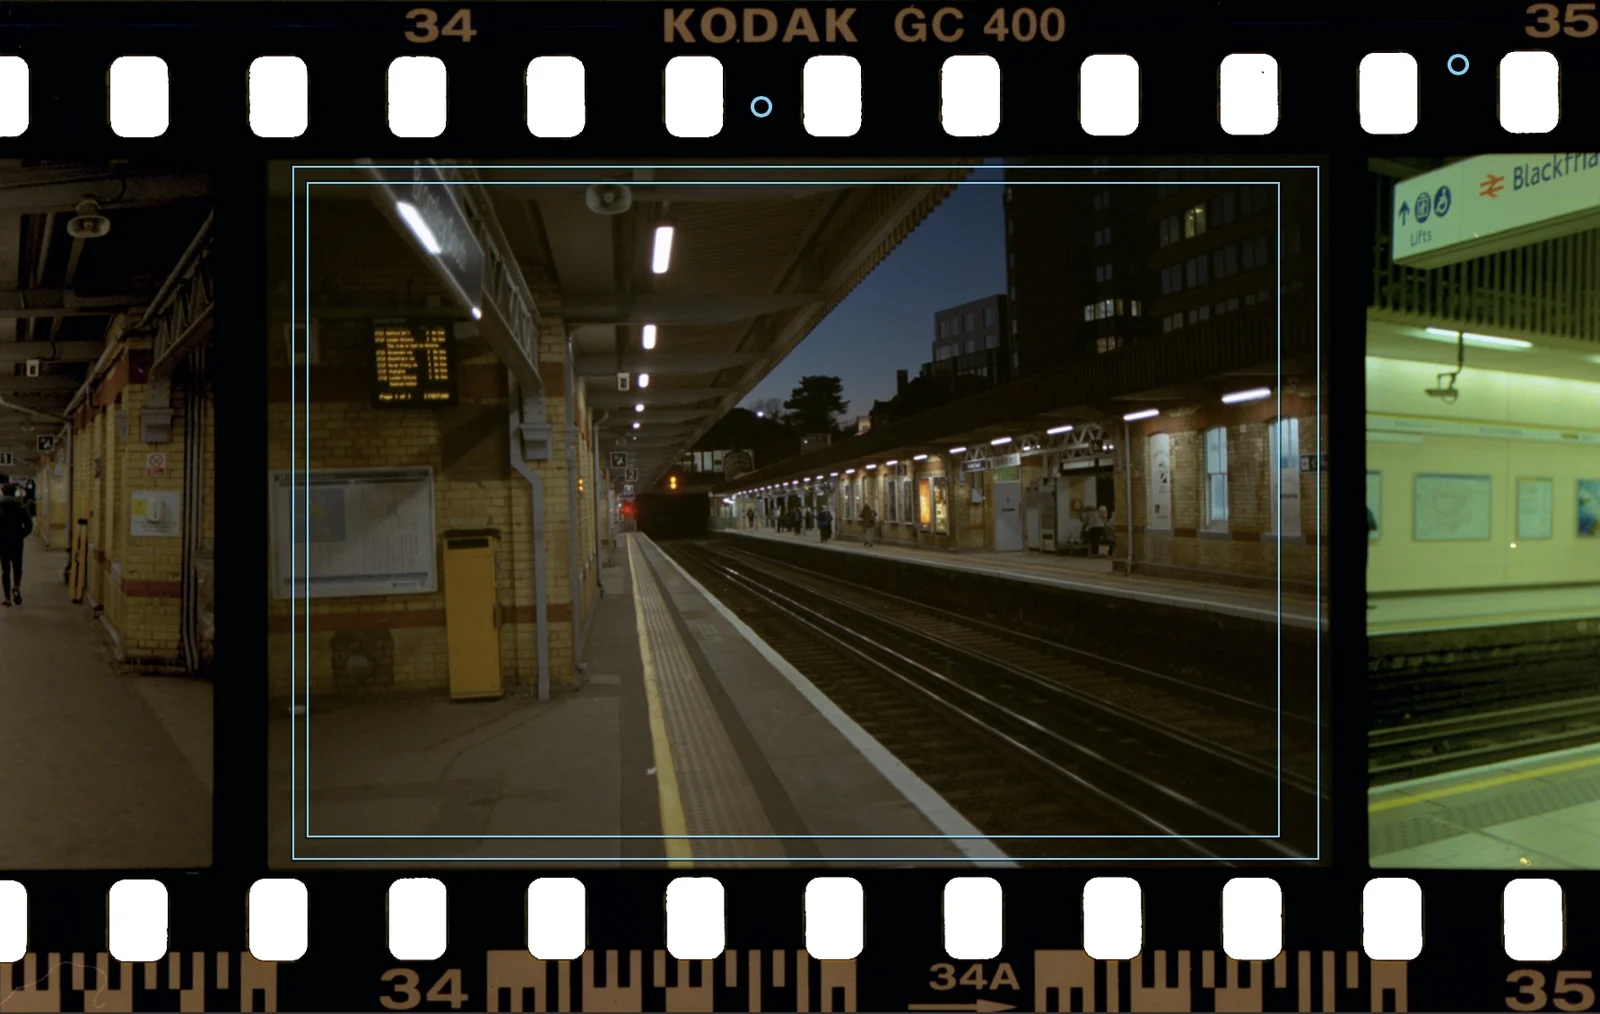
Dmin should sit on clean film base. If there is no clear base, try the darkest reliable area in the positive. If the sample does not help, clear it. See Inversion and sampling.
Check the sprockets
With the base kept, press G to toggle sprocket fill, and hold G to adjust the threshold. Zoom in and look for holes that were missed. Also confirm that dark parts of the picture and the edge codes were not filled white. The final crop should not keep the continuous white border outside the film.
Color and export
If the automatic result looks right, export it. If the cast is obvious, check the exposure range first, then white balance, cast strength, and the inversion settings. See Color. Press ⌘ S to open export.