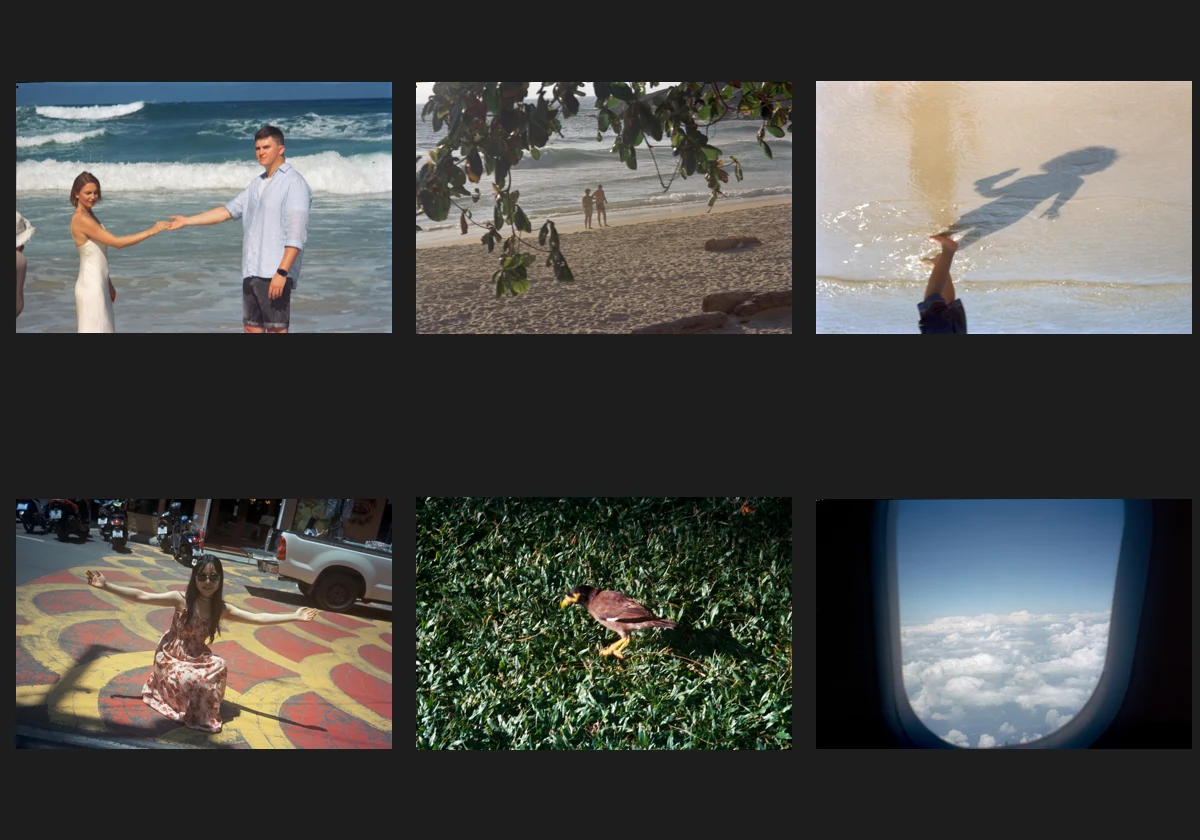
NextFrame

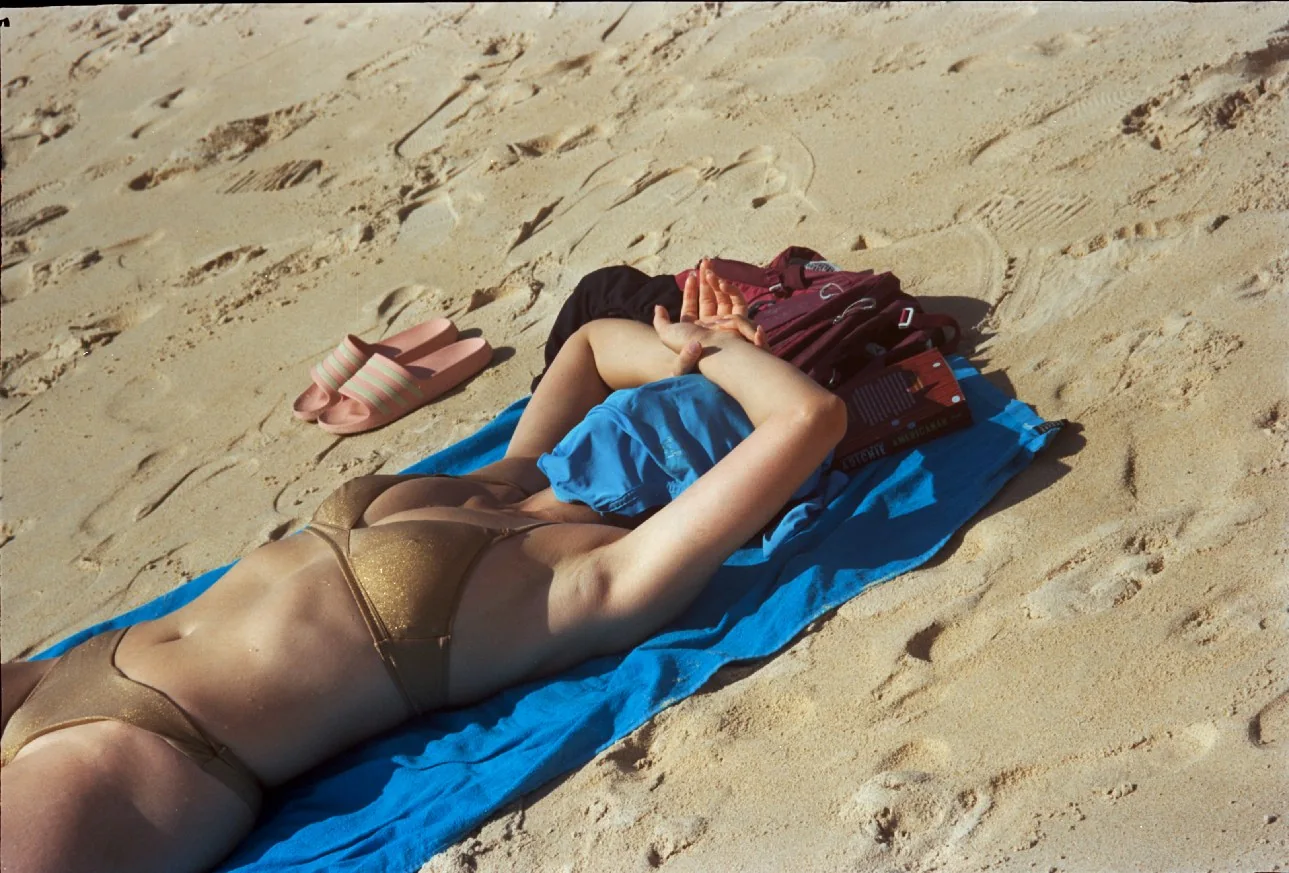
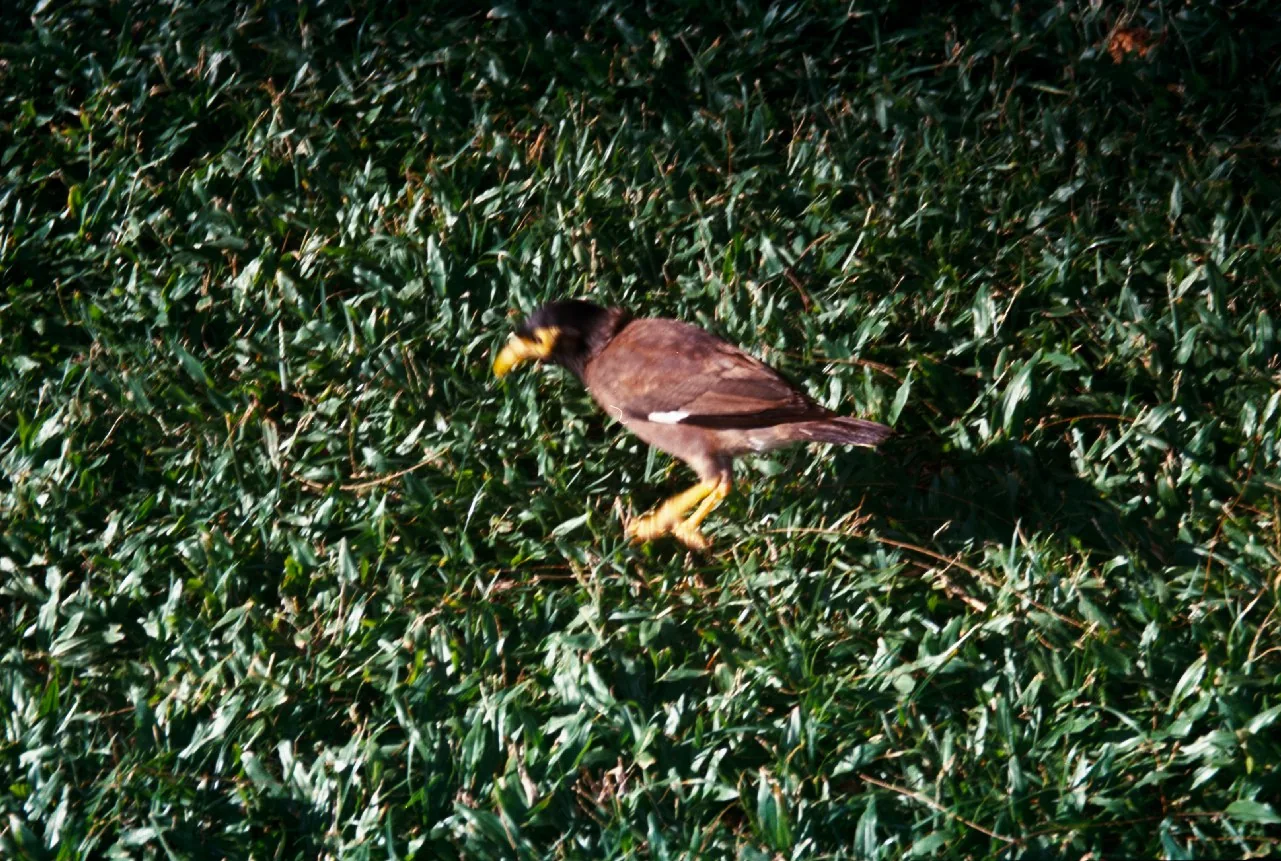
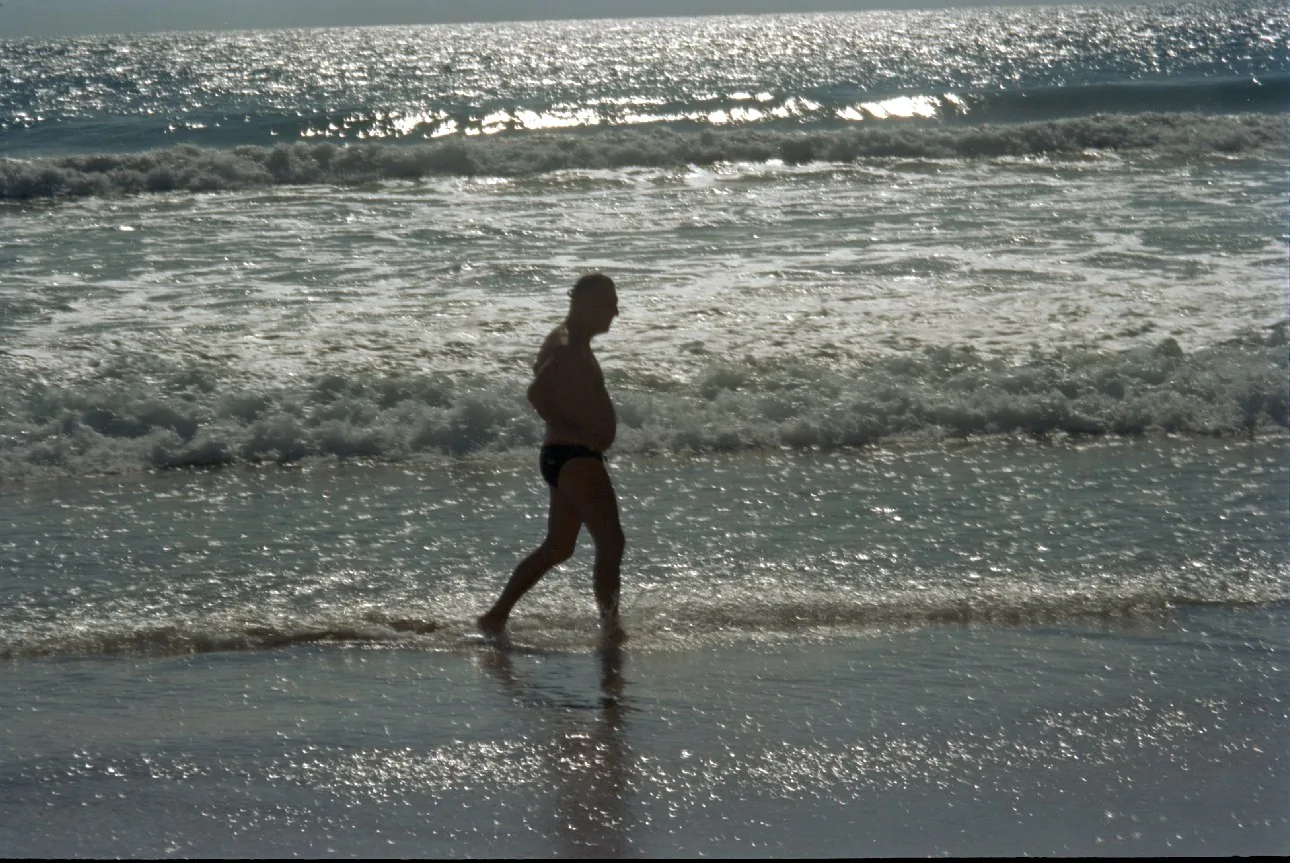

NextFrame
Negative Processing, Fast, Easy
A film darkroom.
From inversion to the final file.
A density-domain inversion engine, a full set of color tools, and an automated path through capture, scanning, development, and output. Darkroom control, in one workspace.
 01
Density inversion
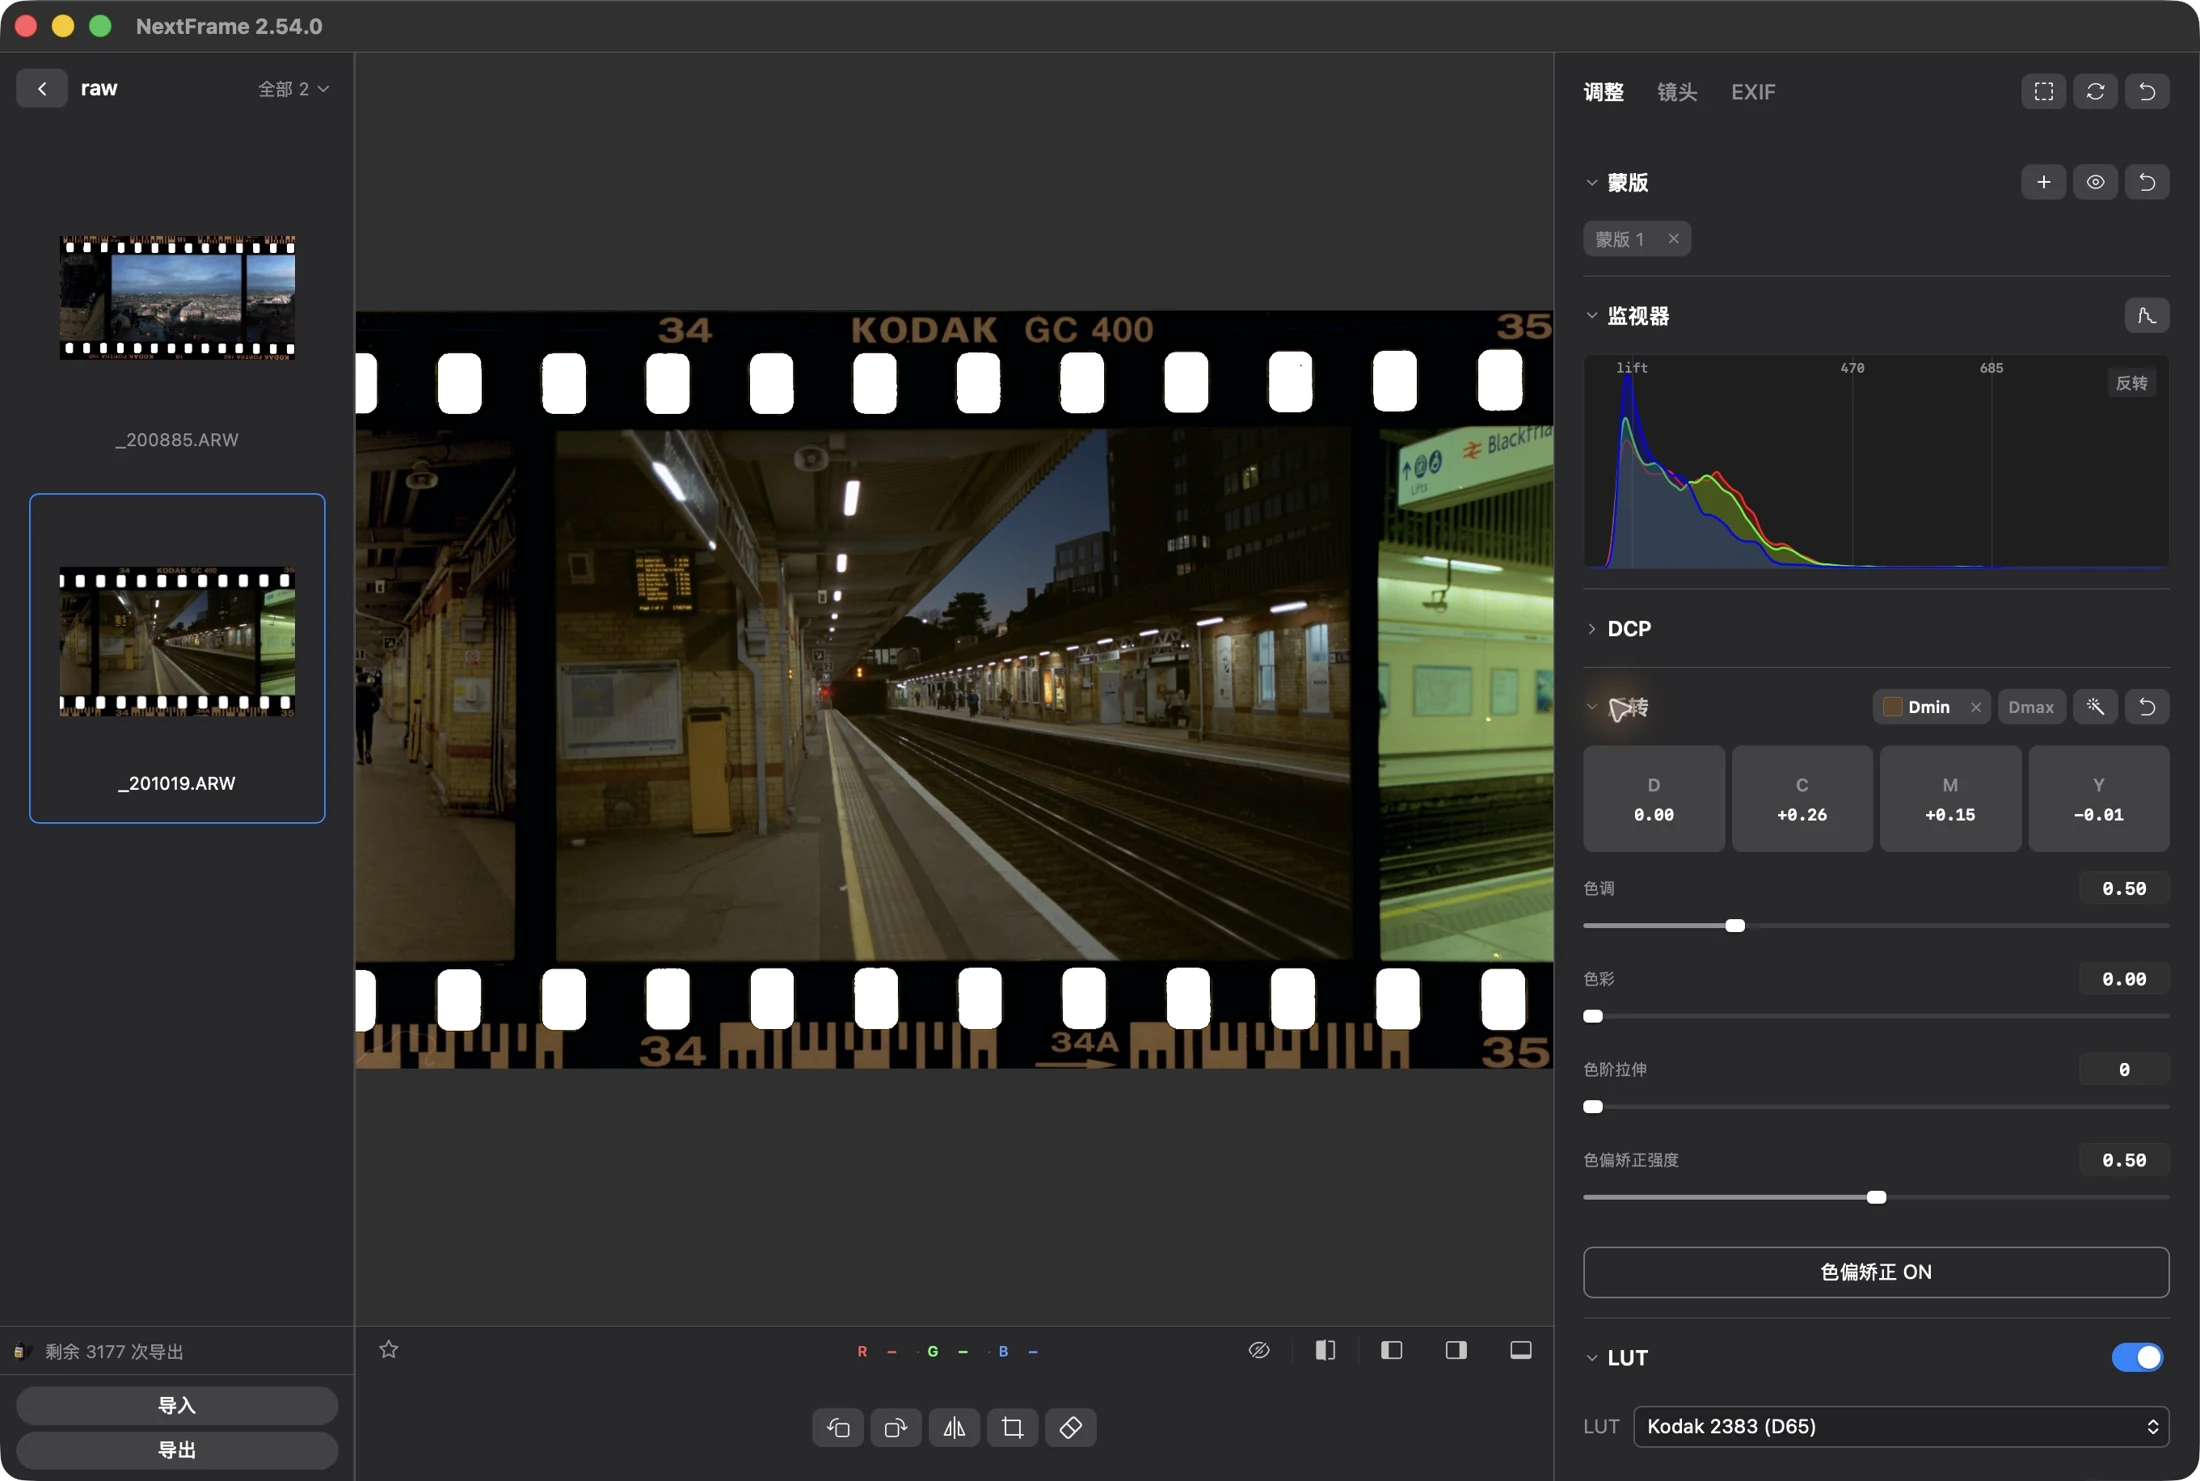
Start from the film’s density, sample the base, and use DCMY to rebuild the negative’s color and tone.
 02
Automatic RAW
Import and go. Detect the frame, straighten, invert, and balance color, and let the roll’s repetitive work run itself.
 03
FFF auto crop
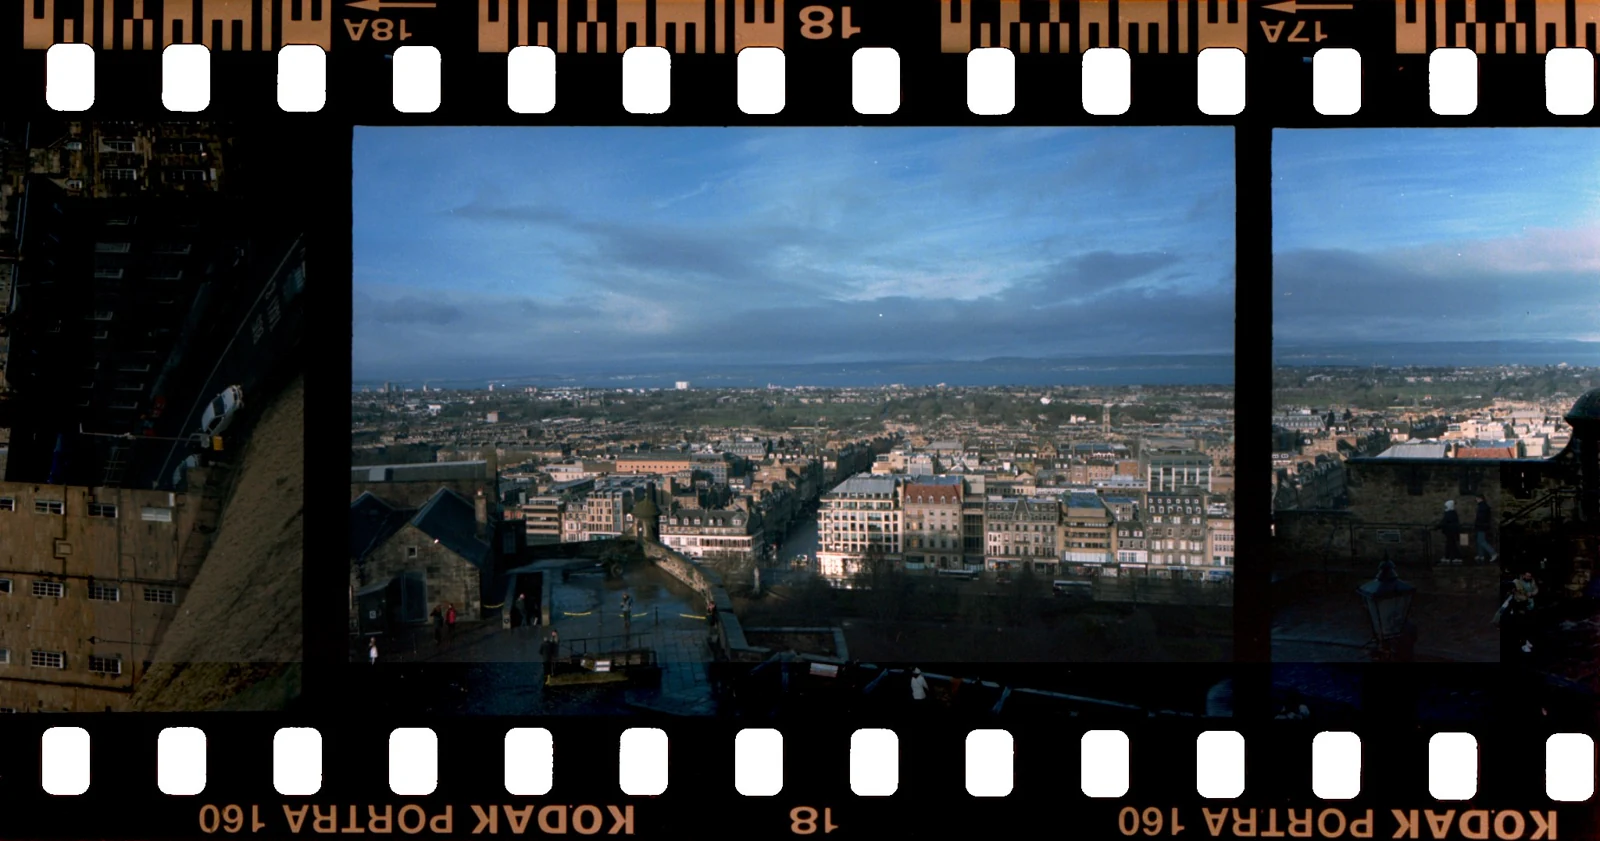
Find frames in a strip scan and make a crop for each one. A strip comes in. Frames come out, each one editable.
 04
Many formats
Bring camera RAW, DNG, TIFF, and FFF scans into the same darkroom, whatever the camera or scanner.
 05
Sprockets and borders
Keep edge codes, fill sprocket holes white, and use the LIVE border template. The film edge can stay part of the picture.
 06
HDR output
From the develop preview to Ultra HDR, so bright sources and fine tone hold up on screens that support it.
 07
Full color control
DCMY, split white balance, curves, a mixer, color grading, LUTs, and local masks. From a faithful print to a personal look.
 08
Controls on the image
Hold a key for the dial, drag a waveform, and keep moving with shortcuts. Strip crops keep a whole roll in one rhythm.
 09
Tethered capture
Connect a supported camera for live view, remote release, and ingest. Or watch a folder and continue with the copy setup you already use.
 10
On-device dust removal
Detect dust on this computer, edit the detected area, then repair it. Automatic detection and a manual brush, without inventing detail.
 11
LIVE motion
Turn a still frame into a short motion piece. macOS can save a Live Photo. Windows can export a Live video.
 12
Works with agents
Connect a supported agent through local MCP. Ask it to invert, crop, and grade, and take the file back for hand editing whenever you want.
Every kind of film
has a way to begin.
Pick a path from the film type.
Single RAW copies
Turn on automatic processing, choose whether to keep or remove the film base, then check crop and color after import.
RAW processing ↗02Strip scans
Choose the format, then split automatically or crop the strip by hand. Use absolute masks when each frame needs its own local adjustment.
Strip processing ↗03Slides and black-and-white
Slides use the original-image path. Black-and-white negatives are inverted, then graded in gray and tone as needed.
Slides and black-and-white ↗From import
to a finished frame.
Turn on Auto Process. NextFrame detects the frame, crops, straightens, and inverts from your preset, then fills sprockets and handles color the way you set it.
- Choose the defaultKeep the film base or remove it, set in advance for the job.
- Import the RAW batchWait for automatic processing, then review the result in Develop.
- Check, then exportHold A to run automatic processing again. Hold D to change the crop. Hold S to choose a tone mode.
A whole roll,
in order.
FFF auto split, strip crops, synced settings, and independent masks cover the path from scan to file. Share a look across the roll, and set exposure and color per frame.
Strip scans ↗