 NextFrame
Getting started
Install, import, develop, and export. For a first session, use a color negative with normal exposure.
Install
Open the disk from the download page and choose the installer for your computer. On macOS, move the app into Applications and open it. If the system asks for access to a photo folder, allow the folder you want to process.
Workspace
The library is where you import and organize frames. Click Import Folder to add a folder, or Add Frames to choose files. Select a photo and click Develop to start editing.
In Develop, the filmstrip is on the left, the preview is in the center, and the adjustment panels are on the right. Click a thumbnail to switch photos. While a mask is selected, panel settings apply to that mask. Back on the global adjustments, they apply to the whole photo.
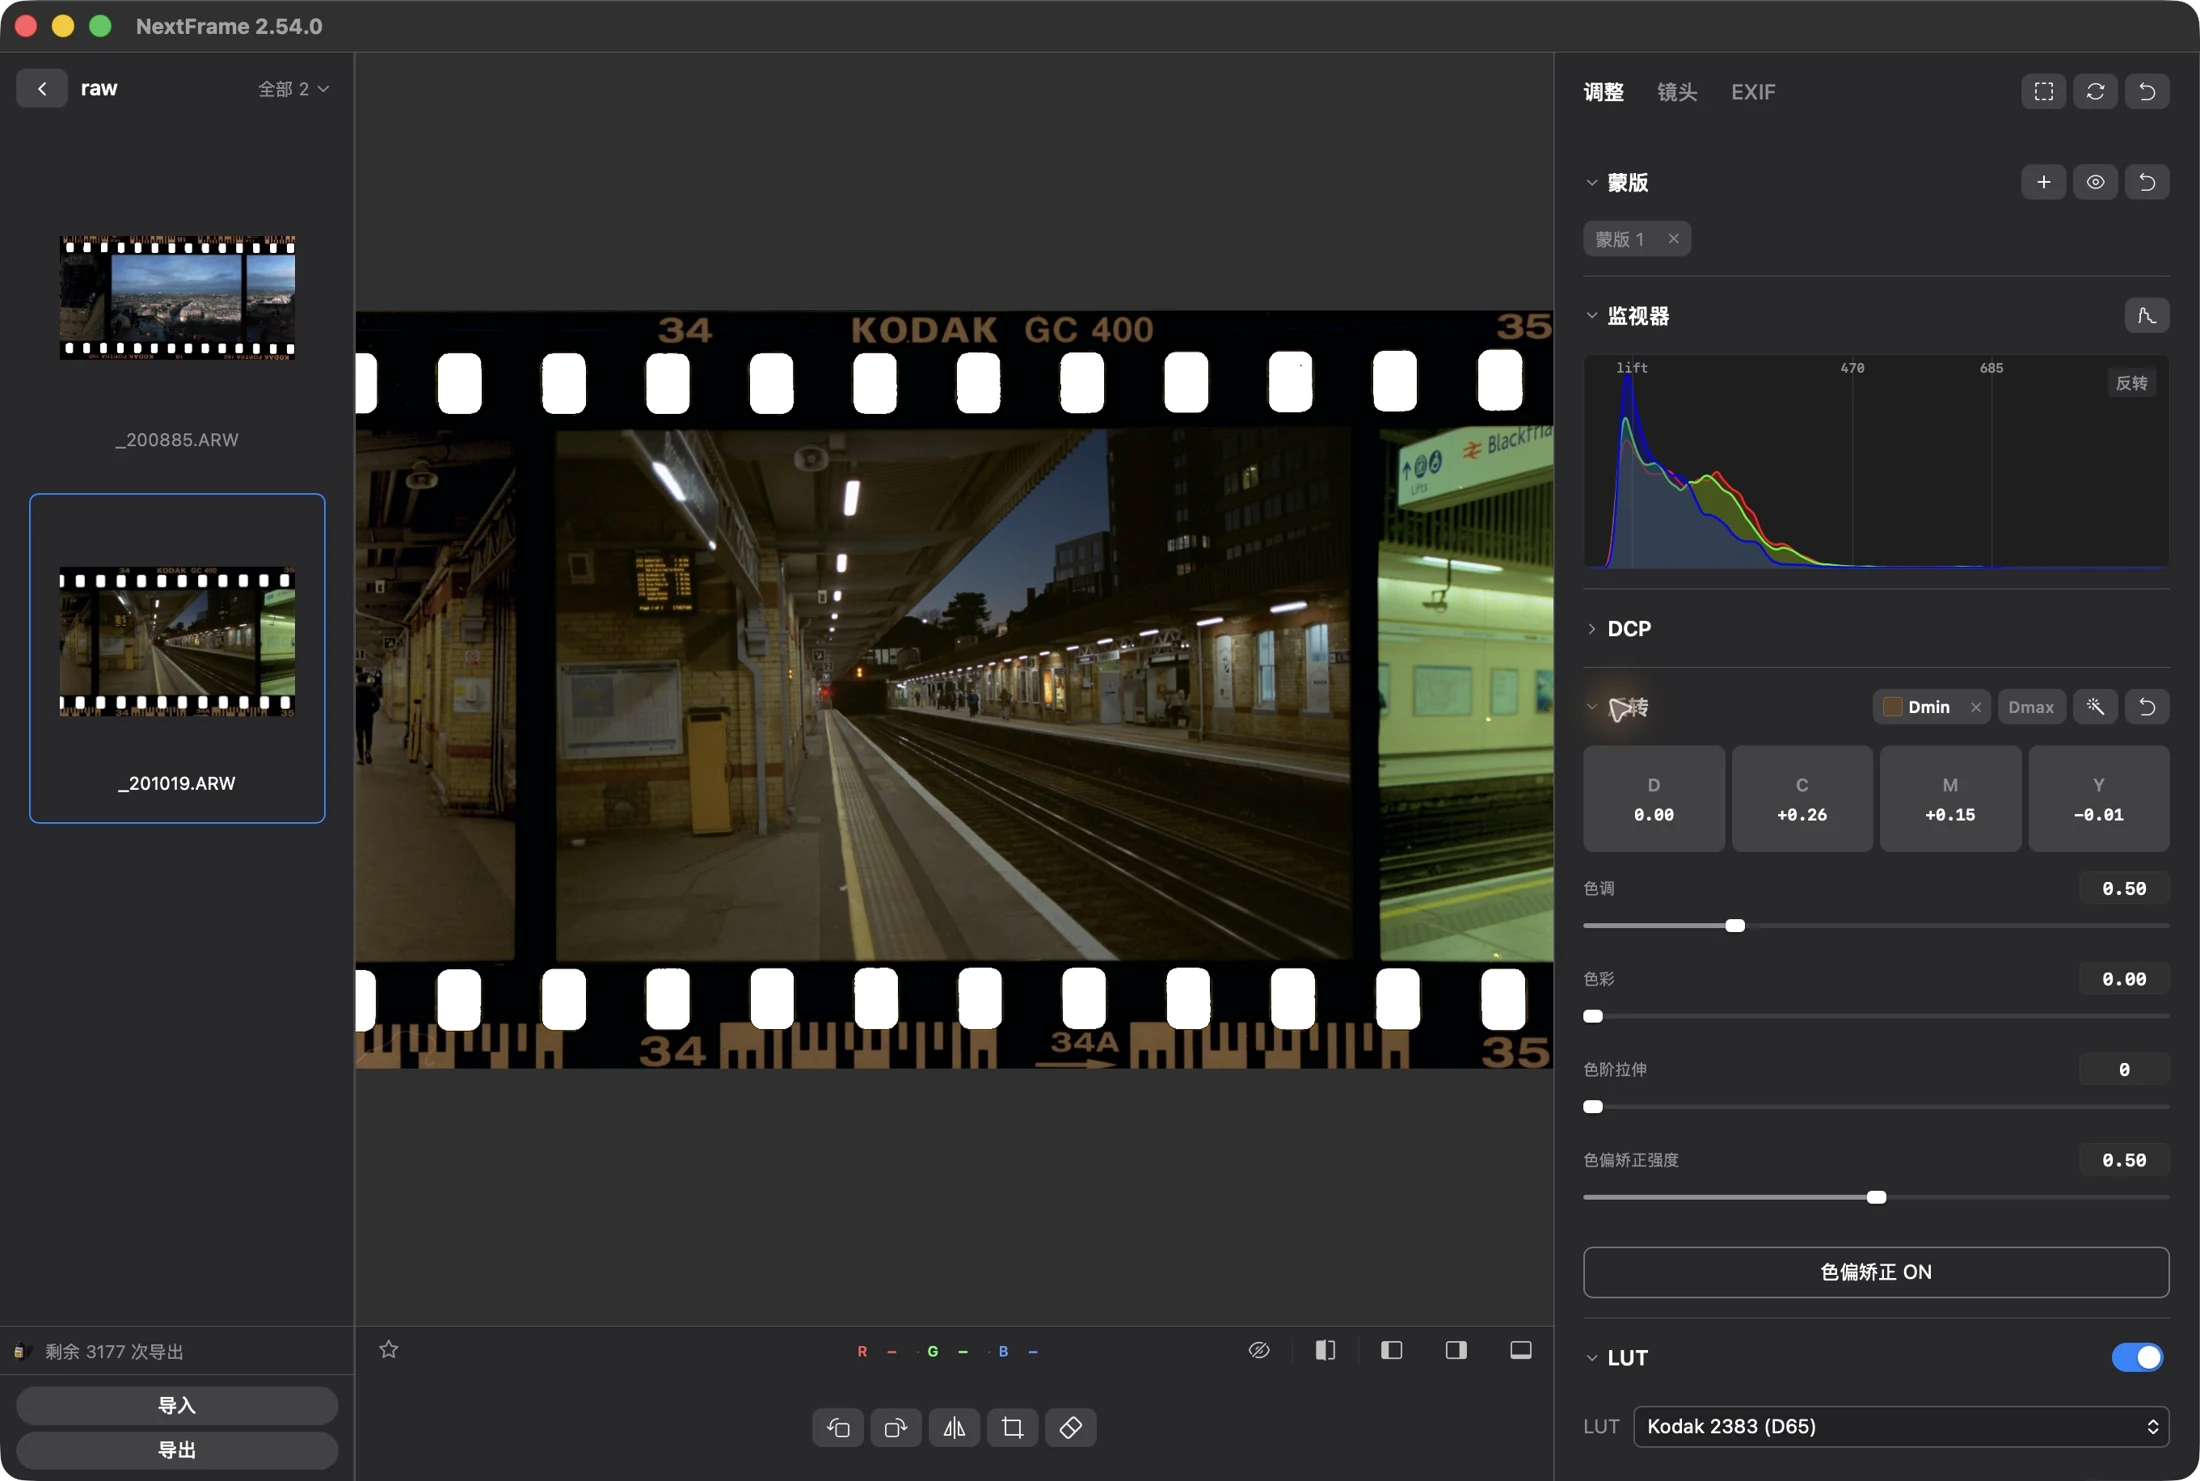
Import and process a negative
- Open Settings → Processing Preferences and turn on Auto Process.
- Under Auto Crop, choose Keep Base or Remove Base.
- Import the photos and wait until processing finishes.
- Open Develop. Press
Fto check the crop, andVto show the range and sample marks. - Check orientation, edges, and color. To change them, see Automatic RAW mode and Color.
- Press
⌘ Sto open export. Choose the photos, format, size, and destination, then export.
Slides are imported as the original image, with negative inversion off. See Slides and black-and-white negatives.
Check the export
Open the destination folder and confirm the count and file names. Check orientation, size, and color in the actual files. For ordinary web sharing, choose SDR, JPEG, and sRGB.
This guide refers to NextFrame 2.54.0. Shortcuts are shown for macOS. On Windows, use the matching Ctrl combination.