 NextFrame
Density inversion and sampling
The inversion panel controls a negative’s brightness and color through a density-domain conversion and the DCMY settings. Exposure range, Dmin, and Dmax set the analysis area and the reference points.
Density-domain inversion
Film density and transmitted light are related logarithmically. Density-domain inversion works in that relationship, then uses channel baseline, gain, and tone to produce a positive. The controls are not the same as a simple RGB invert.
Press C to toggle inversion. Press S for automatic alignment. Manual DCMY adjustments are in Color.
Exposure range
The exposure range decides which areas are analyzed. It does not change the export boundary.
- Press
A, then drag on the picture to draw the analysis area. - Hold
Ato choose a preset ratio, or choose Auto to process again. - Press
Vto show or hide the range marks.
Usually place the range inside the picture, away from the holder, sprocket holes, neighboring frames, and large areas of interfering color. If interfering color remains, shrink the range to 75%, 55%, 45%, or 35% and compare. For sky, cloud, or snow with no black point, try including a little clean film base.
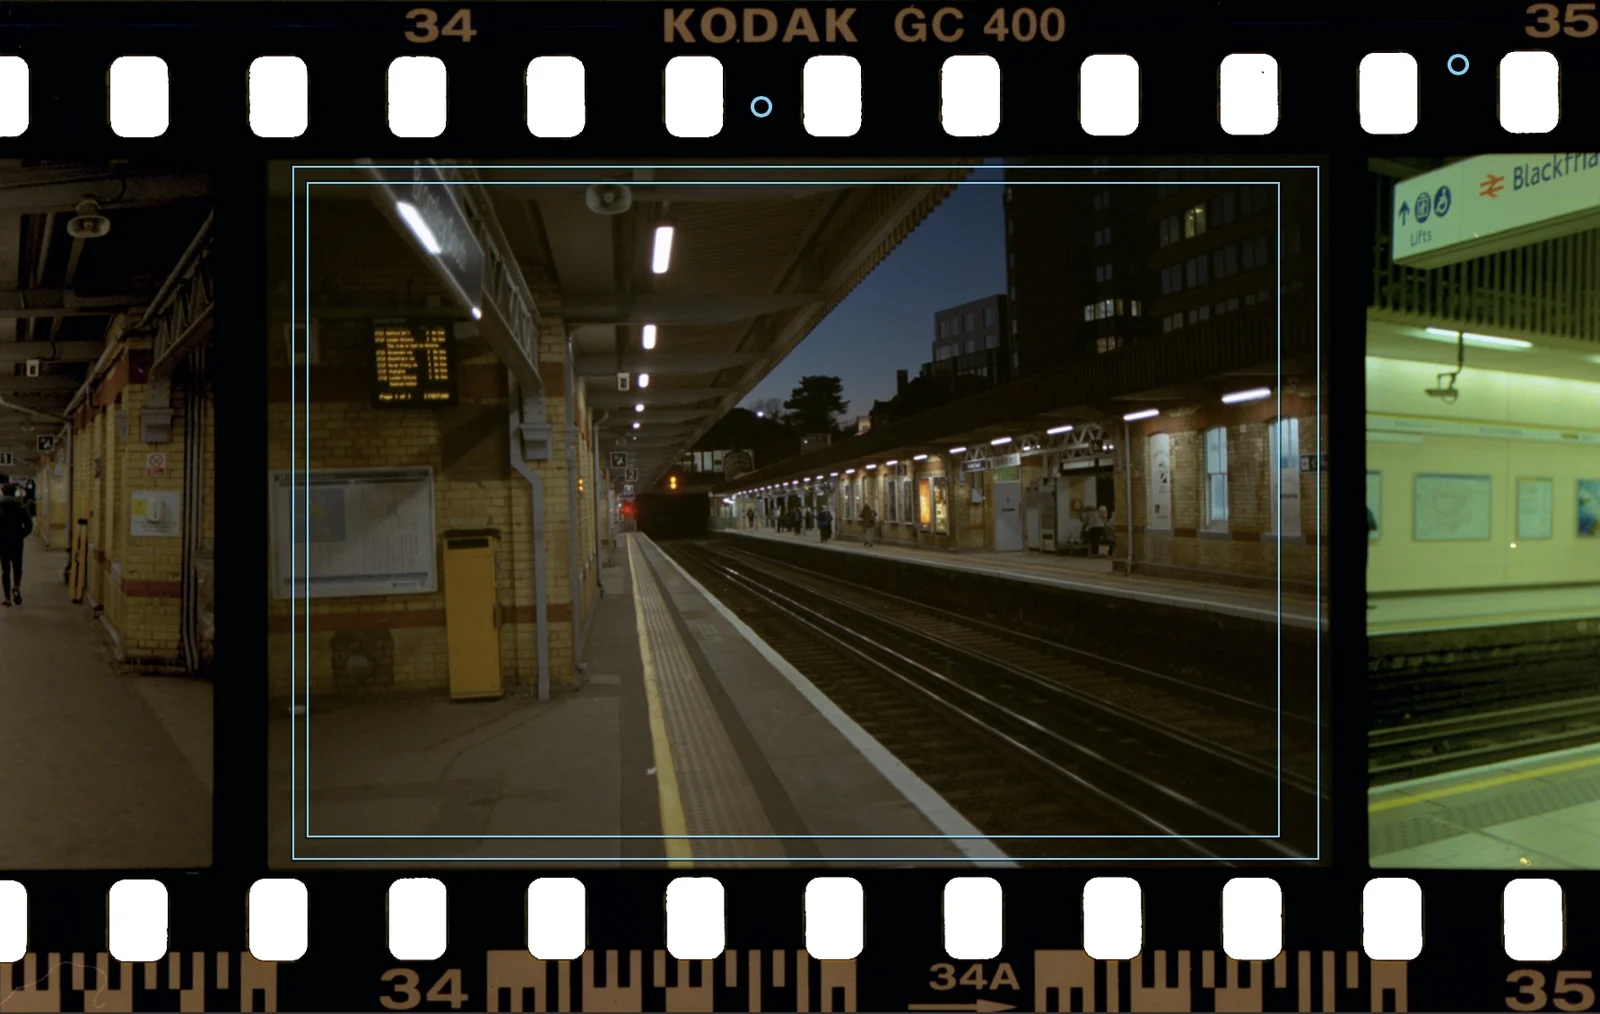
Press V to show the exposure range and sample marks. The picture above is from the current Develop workspace: the range sits inside the picture and avoids sprocket holes and edge codes.
Dmin
Press Q for Dmin and click clean film base. The narrow black edge around the frame, and the gap between frames, are usually usable. Avoid printed codes, holes, and the scanner bed.
If there is no clear base, try the darkest reliable area in the inverted positive. That means a dark area in the positive, not the darkest part of the negative original. Compare color, fog, and contrast after sampling. If it gets worse, click Clear next to Dmin, or undo.
Dmin can be left unset. You do not have to find a sample on every photo.
Dmax
Hold Q and choose Dmax. Sample the brightest neutral highlight in the positive that has not clipped, such as a white wall, white clothing, or a white cloud. Avoid colored lights and colored reflections.
Try Dmax after range, white balance, and cast strength have not improved the picture.
Sample position and crop
A sample can sit outside the final crop, but it should be the same piece of film under the same light. Sample first, then crop away the outer area you do not want. Even when you keep the base, remove the continuous white border outside the film.